Organizing an event, community activity, or fundraising initiative often requires collecting both participant information and payments. Traditionally, this meant using separate tools such as Google Forms for registrations and another platform for payments.
With Nobuk, you can do both in one place. Whether you’re managing a community group, chama, business, or event, Nobuk’s payment forms make it easy to collect information and receive payments directly through a customized form.
In this guide, we’ll walk through how to create a simple registration form for a run and share it with participants.
Step 1: Access the Forms Section
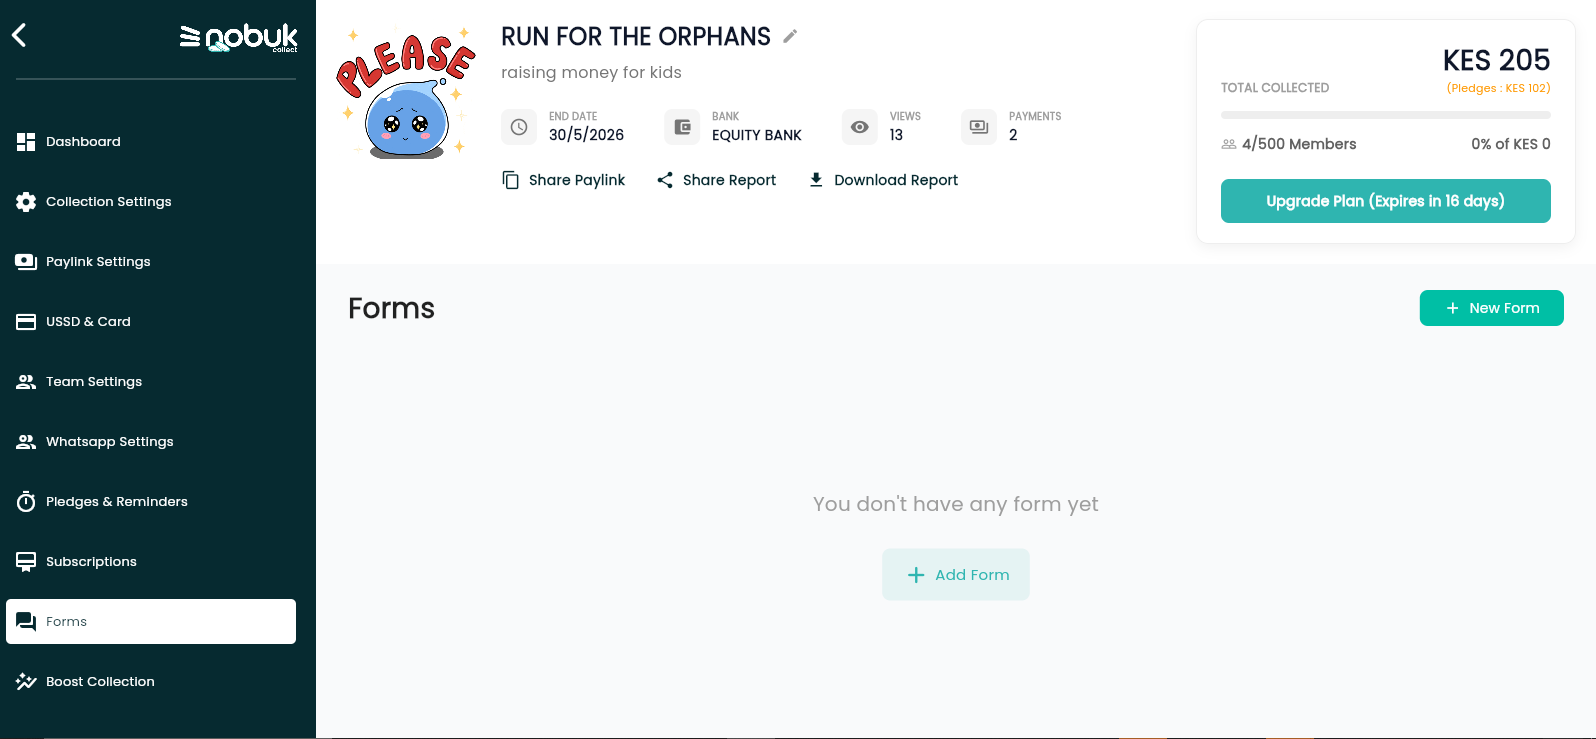
Open the Nobuk app and navigate to the main dashboard.
Click forms to begin creating your registration form.
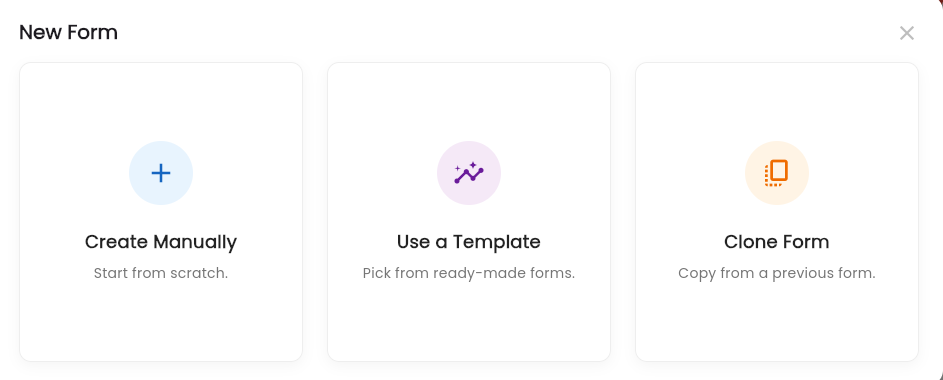
Step 2:Nobuk gives you several ways to get started:
- Manual Creation – Build a form from scratch.
- Use a Template – Select from ready-made templates for common use cases.
- Clone an Existing Form – Duplicate a previously created form and customize it to suit your needs.
Choose the option that works best for your event.
Step 3: Add Your Form Details
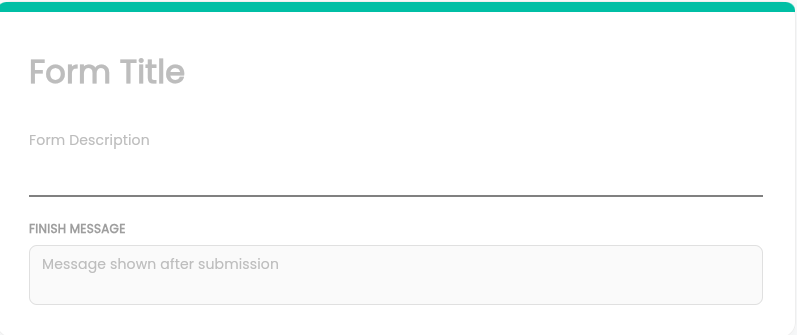
Click on the Form Title section to customize your form.
Be sure to add:
- A clear and descriptive title
- A brief description explaining the purpose of the form
- A completion message that participants will see after submitting the form
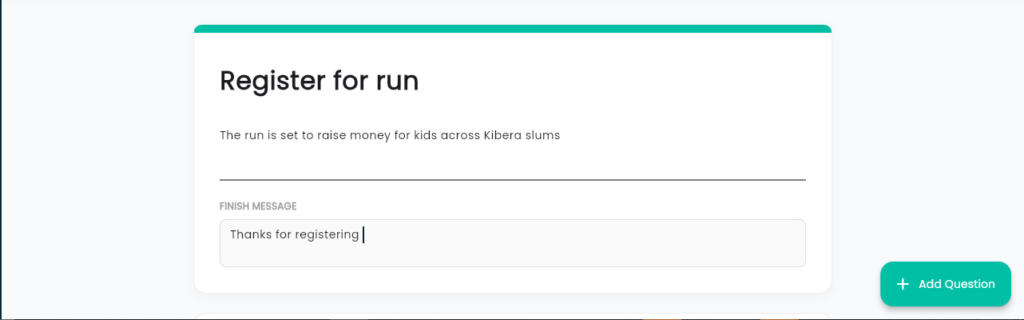
For example:
Title: Register for the Community Fun Run
Description: The run is set to raise money for kids across Kibera slums
Finish Message: Thanks for registering
These details help participants understand exactly what they are signing up for.
Step 4.Build Your Registration Questions
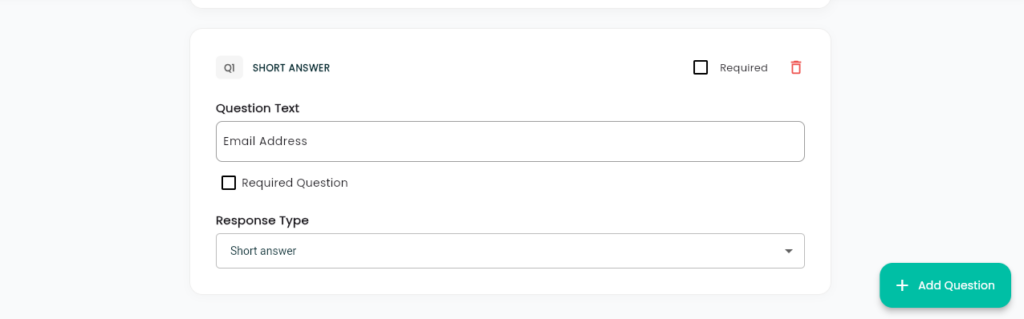
Use the Add Question option on the right sidebar to create your registration fields.
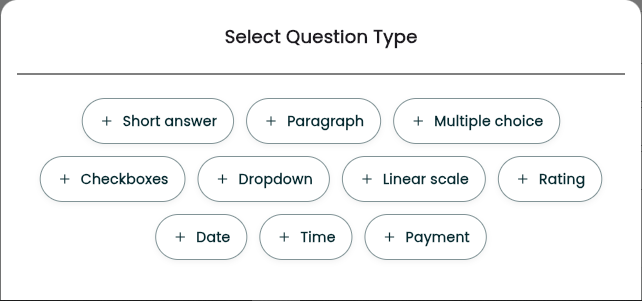
You can choose from various question types, including:
- Short Answer
- Paragraph
- Multiple Choice
- Dropdown Menus
This flexibility allows you to collect information such as:
Emergency contact details
Participant name
Phone number
Email address
Step 5: Use Dropdown Questions for Multiple Options
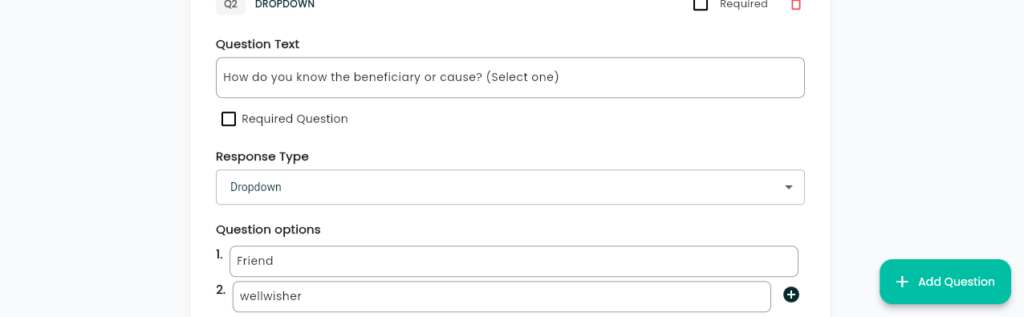
If a question has several possible answers, you can use the Dropdown option.
Dropdown menus keep forms organized and easy to complete.
Step 6: Set up the payments category
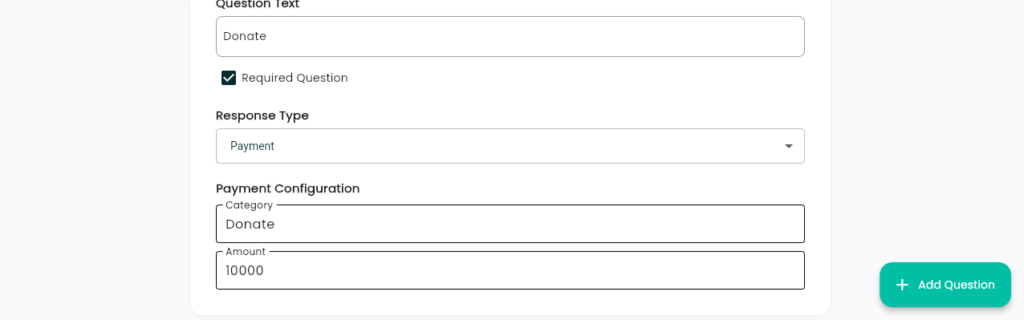
Once your questions are complete, add the Payment field to your form.
Nobuk allows you to:
Set a Fixed Amount
Perfect for event registrations where everyone pays the same fee.
Example:
- Donate : KES 10,000
Allow Open Payments
Participants can enter any amount they wish to contribute.
This option works well for donations, fundraising campaigns, and community contributions.
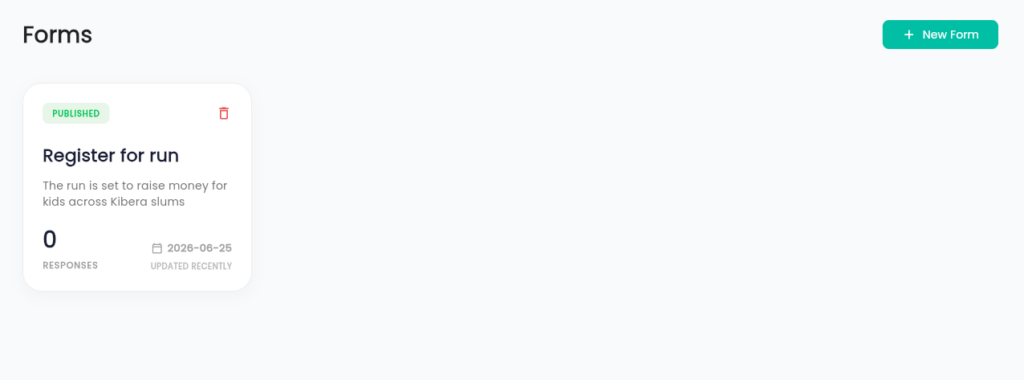
Step 7: Locate Your Form on the Dashboard
After creating the form, it will appear on your Forms Dashboard, where you can view and manage all your forms.
From here, you can monitor submissions and make updates whenever necessary.
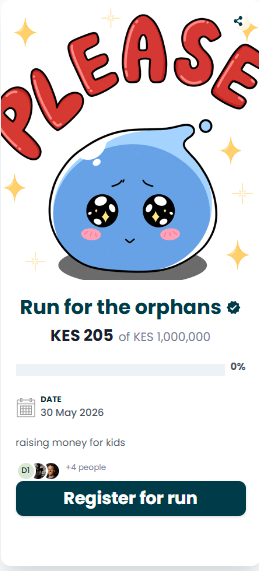
Step 8: Access the Shareable Paylink
Navigate to the Share Paylink section.
Your newly created registration form will appear here along with its unique payment link.Once you click it it will appear as shoown below
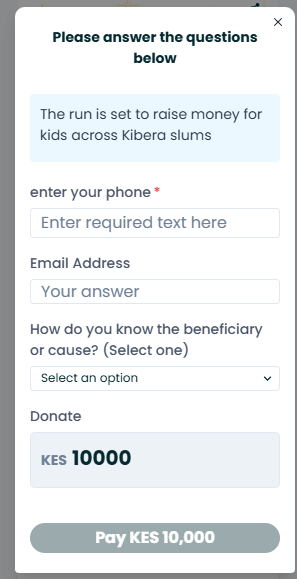
Step 9: Preview the Registration Experience
Click the registration button (for example, Register for Run) to preview the form.
You will see all the information and payment fields exactly as participants will see them.
This allows you to confirm that everything is working correctly before sharing it.
Step 10: Share Your Form
Once you’re happy with the form, simply share the paylink with participants through:
- SMS
Participants can complete the registration process and make payments directly from the shared link.
Leave a Reply